Our Inspiration


Contact Info
- Corporate Office Address
AsiaTrade Ceramika LLP
NH - 27 , Lalpar ,
Near Eden Ceramic City ,
Morbi - 363642 , Gujarat , INDIA. - Factory Address
AsiaTrade Ceramika LLP
NH - 27 , Rafaleswar ,
Morbi - 363642 , Gujarat , INDIA. - info@asiatradeceramika.com
- +91 99780 98869
- +91 98795 98710
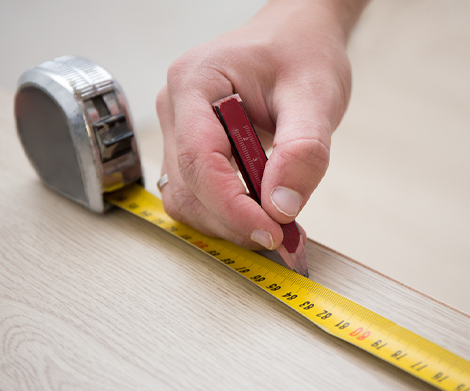
Step 1 : Measure and prepare the area
Start by measuring the area where you want to install the tiles. Then, clean the floor thoroughly and remove any debris or existing flooring. Ensure the surface is smooth, dry, and level.
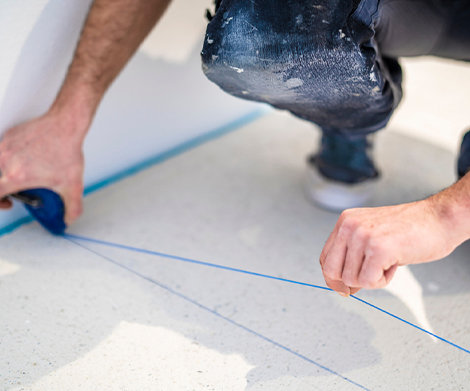
Step 2 : Plan the tile layout
Using a chalk line, snap a straight line down the center of the room, dividing it into two equal halves. This will serve as your guide for laying the tiles. Plan the layout of the tiles by dry-fitting them on the floor without adhesive, starting from the center and working your way out towards the walls. Use tile spacers to ensure even spacing between tiles.

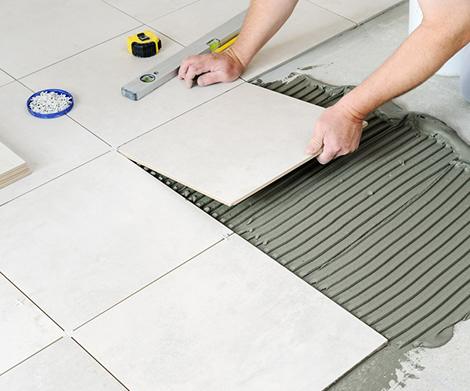
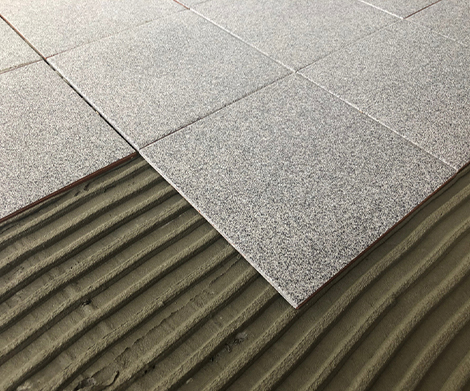
Step 3 : Apply adhesive
Using a trowel, spread tile adhesive onto the floor, covering a small area at a time. Make sure to follow the manufacturer's instructions for mixing and applying the adhesive.
Step 4 : Lay the tiles
Starting from the center, lay the tiles onto the adhesive in a straight line along the chalk line. Press each tile down firmly to ensure it is level and secure. Use tile spacers to maintain consistent spacing between tiles.
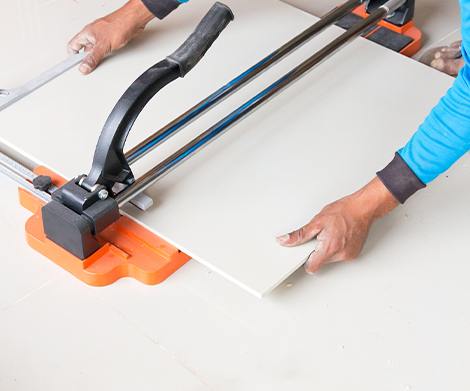
Step 5 : Cut tiles to fit
Measure and mark any tiles that need to be cut to fit around the edges of the room or any obstacles such as pipes or vents. Use a tile cutter or wet saw to make the necessary cuts.
Step 6 : Let adhesive dry
Allow the adhesive to dry completely according to the manufacturer's instructions. This can take anywhere from 24 to 48 hours.
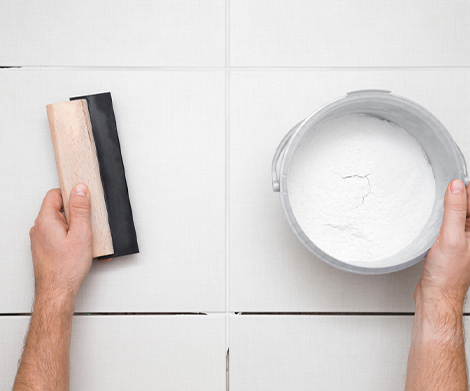
Step 7 : Apply grout
Mix the grout according to the manufacturer's instructions. Using a grout float, apply the grout over the tiles, pressing it into the spaces between the tiles. Wipe away any excess grout with a damp sponge.
Step 8 : Let grout dry
Allow the grout to dry for the recommended time according to the manufacturer's instructions.

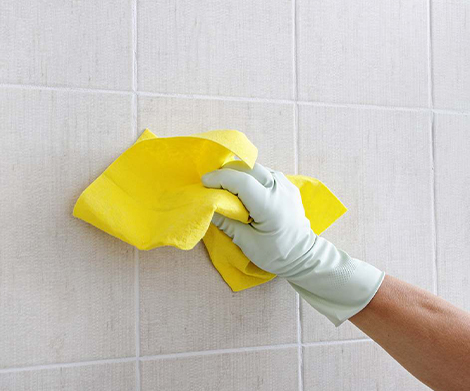
Step 9 : Clean the tiles
Use a clean, damp sponge to remove any grout haze from the tiles.
Congratulations! You have successfully installed ceramic floor tiles.

